Search


Share & Subscribe
Share/Bookmark
Subscribe


Help keep the stumpjack off the endangered species list.


For the best choice in premium cigars check out our friends at Cigarsdirect.

Navigation
Thursday
Nov172011

Making Apple Wine

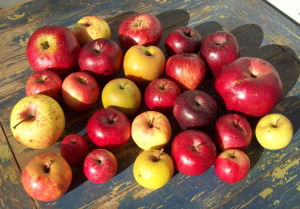
I've been posting a lot of images and status updates about our apple foraging adventures of the past several weeks on my personal facebook page (the title of the page is my name, David Smith, but the URL is http://www.facebook.com/JavaTikiKing). We've been apple picking maniacs this autumn, keeping a sharp eye out for apple trees every time we go anywhere. We've harvested from single and multiple trees along country roads, amongst old farmhouse ruins, public parks, private properties and friends' backyards. Many dozens of bushels (well over a couple thousand pounds) and over two dozen varieties have filled our buckets, baskets and bags. It's been a lot of fun, not unlike a treasure hunt full of surprises and excitement.

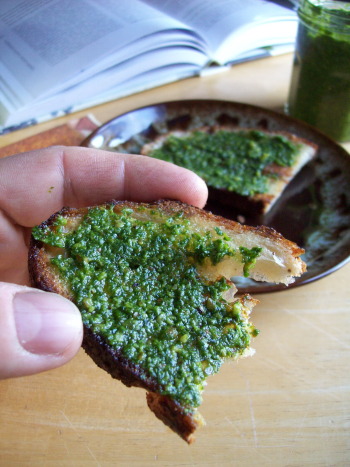
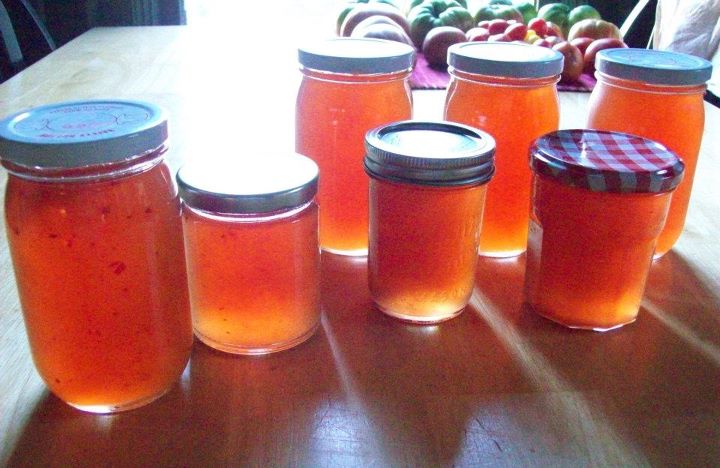
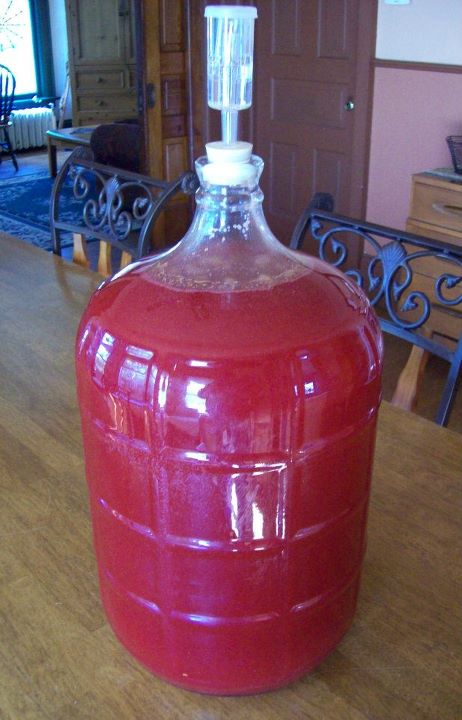
We've consumed a lot of apples in the form of jellies and jams, apple pies and crisps, fruit pizzas and apple sauce, apple cider and fresh apples straight from the basket. Apples, apples, apples. I've also got the food dehydrator running with trays full of sliced apples as I write this. But the most fun has been in the making of apple wine. At the moment we've got glass jugs and carboys full of apple cider (juice that will become wine is called the "must") in various stages of fermentation.

I'm not going to provide a detailed a description of the process and recipes in this post, but rather just wanted to share a few images from a batch we made earlier this week (click on the images to enlarge):

1 & 2) Gather & wash your apples; Core & rough chop.

   3 & 4) Chopped apples ready for the processor; Kim turning them into pulp.
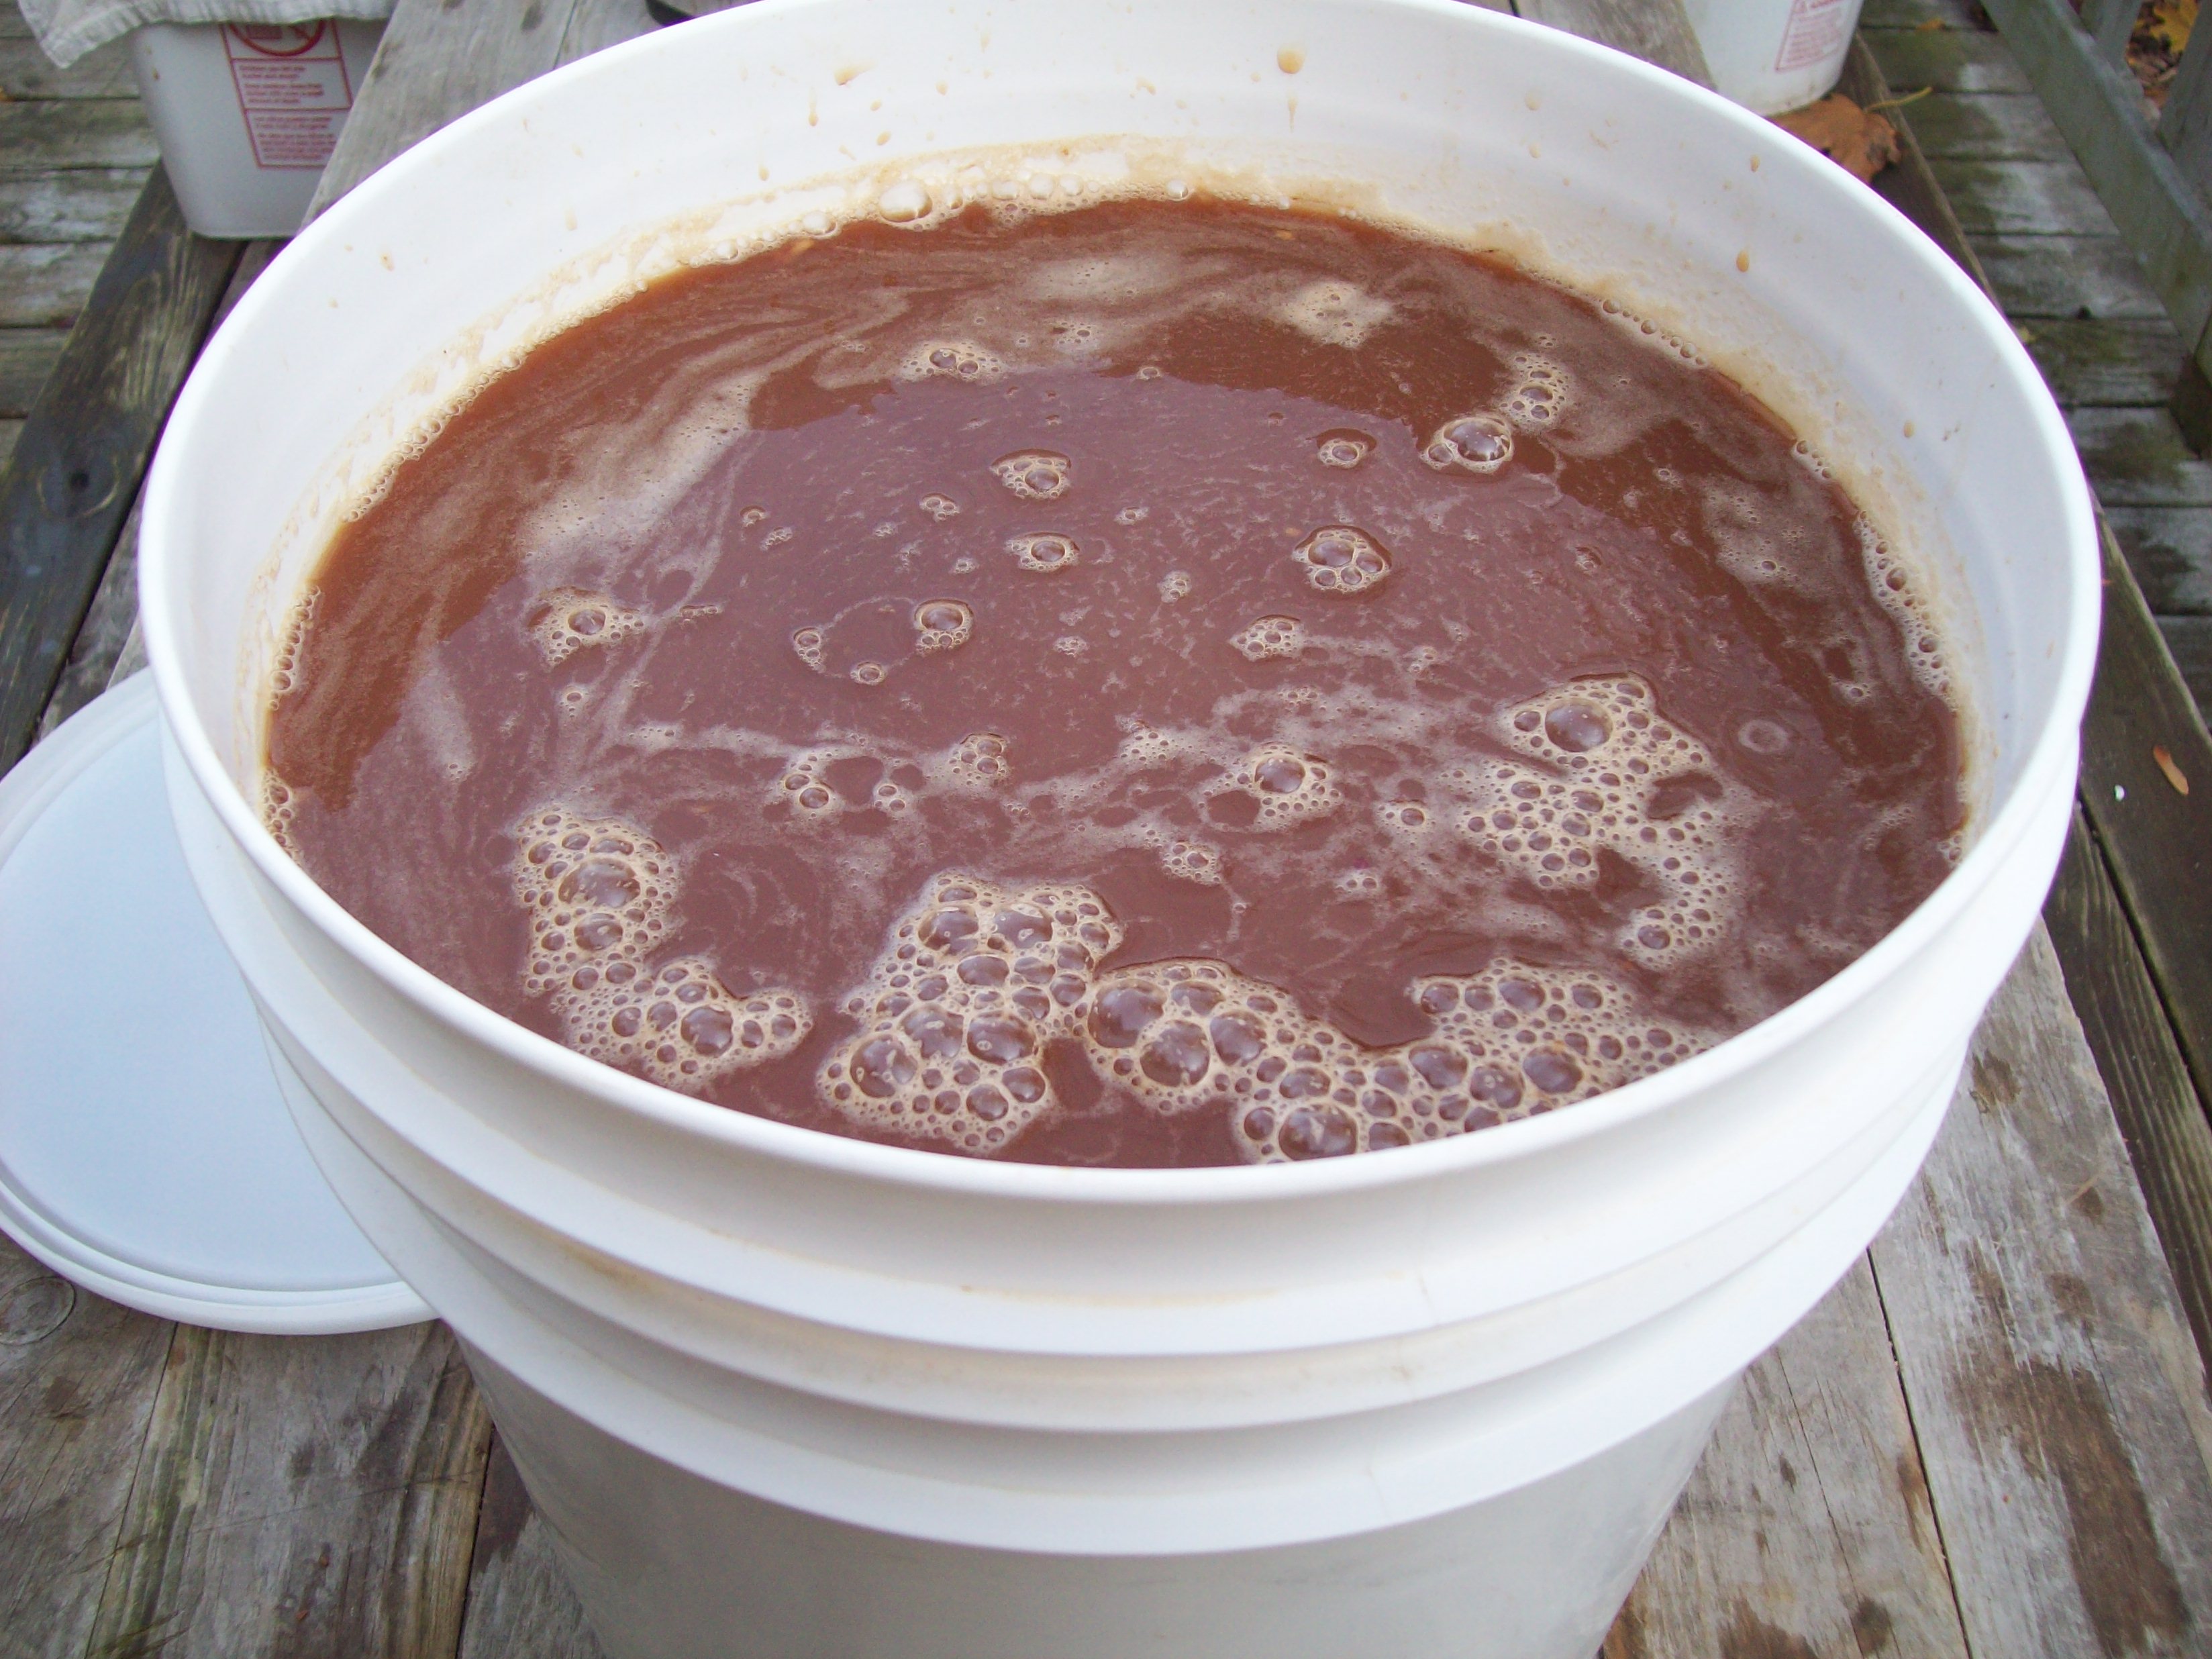
5) Buckets of apple pulp.

   6 & 7) Cloth bag o' pulp.

  8 & 9) Putting the bag o' pulp into the press.

    10 & 11) Pressing and getting the cider.

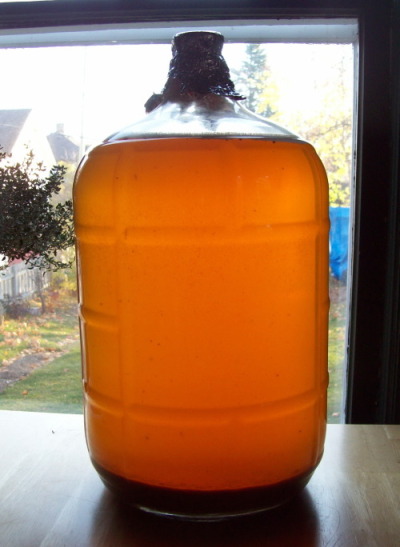
  12) 5 gallons of fresh cider!

13) Apple must the day after adding the pectic enzyme. Racked it to eliminate all the silt (lees) at the bottom; then added sugar, yeast nutrient and yeast; capped with an airlock; let 'er sit and ferment for two or three months.

I've got a good deal more to write about the apple press. It went through several modifications as we had to address design flaws. Look for that, as well as a more detailed look at the wine making process, in a forthcoming post.

Thursday
Nov102011

Make your own "saltines" crackers

Kim and I made some creamy potato soup today. She is the one who actually made it; I was just the knife man in charge of chopping onions, celery and garlic. It was mighty tasty. But for me, soup without crackers is like a fried egg without toast, and we had no crackers. Solution: make your own saltines or oyster crackers. It's pretty quick and simple.

Ingredients:

  • 4 cups flour
  • 2 tsp sugar
  • 1 tbs salt
  • 1 tsp baking powder
  • 1 stick butter
  • a little more than 1 cup cream or whole milk (no cream in the house so I opted for whole milk)


Toss the dry ingredients in the food processor and give it a pulse or two. Cut the butter into 1/2" chunks and add to the flour mixture. Pulse until it's well blended. You might have to take the lid off a few times and work the butter around and into the flour by hand if it doesn't seem to be integrating well; I think it depends on the processor you have.


After everything's well-blended run the machine while pouring the milk (or cream) in, until you get a nice stiff dough. Form the dough into a ball, wrap in plastic wrap and set in the fridge for a half-hour (or an hour, if you're going to go pick some apples like I did after making the dough).

Set your oven to 400º and line a baking sheet or two with parchment paper. Flour the counter and roll the dough out to 1/4" thickness. Cut it into cracker-shaped squares (or into little rounds like oyster crackers...I made mine square even though the final product is more like an oyster cracker in flavor and texture than a saltine). Brush some cream or milk on the crackers and sprinkle with cracked pepper and sea salt (I used red sea salt just because I like how the color shows up on the cracker). Bake until they start to brown (took about 18 minutes in my oven). Let 'em cool and there you go!

Take that, Nabisco!

Monday
Nov072011

Goosefoot Pesto

Goosefoot or Lamb's Quarters is one of the first wild plants that I tell people about who are new to foraging, just because it's so very abundant, tasty and easy to identify. We'll discuss more detailed goosefoot taxonomy and identification in a follow-up journal entry; for now I just wanted to share some images and the recipe for a pesto I made this morning using the plants that were growing in a small patch next to our house. They're forecasting frost and freezing temperatures for midweek, and I thought I ought to harvest what I can while there's still time.

This patch of goosefoot sprang up in two big washtubs I had filled with dirt and intended to plant something else in, but never did. Once I saw the washtubs being taken over by this "weed" I was more than happy to let that be my chosen crop.

Goosefoot is most often compared to spinach as a leafy green. I don't find that to be accurate as it concerns flavor (to my palate it doesn't have near the intensity or bitter qualities of spinach), but it's certainly true in how it may be used as an edible green. Use it fresh in salads, steamed with butter as a side vegetable or as an ingredient in ravioli or canoli. But one of my favorite ways to use it is as the green in pesto, in place of the traditional basil.

Detail of Goosefoot/Lamb's Quarters leaf attached to plant. (clcik to enlarge)

Goosefoot leaf. (click to enlarge)

Harvested Goosefoot.

Ingredients:

  • Goosefoot leaves
  • Oil (olive or canola, enough to create the consistency you want)
  • Pecans (you can use any kind of nut; I just happened to have a 1/4 cup of pecans left)
  • Sea salt (just a pinch)
  • Fresh crushed black pepper
  • Garlic (1/2 clove chopped)

Rinse the leaves well. You'll find that running water easily beads and runs off of goosefoot, a function of the white, almost powdery bloom on the leaves. It's nothing to worry about. Goosefoot is one of the cleaner plants you'll find, but rinsing under running water or immersing in a sink full of cold water should be standard practice for all plants anyway.

Assembled ingredients.

Add everything to a food processor (the really fun part) and pulse until you get a nice smooth paste. I always start with less oil that I think I'll need and drizzle more in as seems necessary (you can always add more, but you can't take any out once it's in there).

Adding the oil; canola oil in this case.

The fun part. Pulse, pulse, pulse...

What a beautiful color! (click to enlarge)

Tada! I like this image. That green is just gorgeous. (click to enlarge)

Ooh, that's good!

Label and refrigerate. It will last, if you let it, two or three months in the fridge.

Addendum: There is a cultivated variety of Goosefoot that I am considering trying next year, called Magenta Spreen. It's a beautiful plant, vibrant green with patches of brilliant purple/pink on the stem and base of the leaves. Seeds can be had from several sources, including Johnny's Selected Seeds (image of the plant at this link).